Before creating a scheduling page, your Outlook calendar must be connected to HubSpot. If you have already done this, skip to the next section.
- Go to User Preferences > Calendar.
- Click Connect your Calendar.
- Select Office 365 and follow the prompts to complete authentication.
Create a Scheduling Page
- Go to Meetings.
- Click Create scheduling page in the upper right.
- Select a scheduling page type:
| Type | Description |
|---|---|
| One-on-one | Books directly with a single person |
| Group | Books with multiple people across multiple Outlook calendars |
| Round robin | Distributes bookings across a pool of team members |
Overview Tab
- Fill in the details for your scheduling page (name, location, duration, etc.).
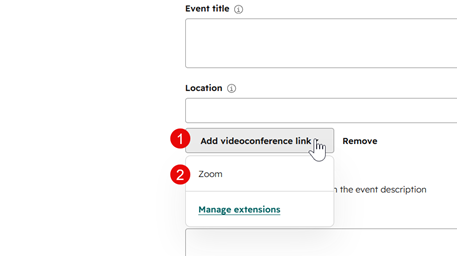
- Click Add videoconference link and select Zoom.
Important: If you do not add a videoconference link, the meeting will be scheduled without a way for the county to join virtually. Always complete this step before publishing your scheduling page.
Schedule Tab
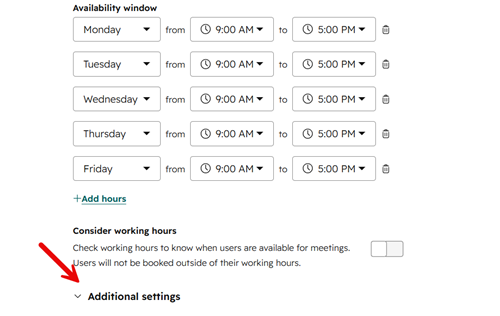
- Set your available days and times.
Note: Your personal Outlook calendar is the source of truth for your availability. Blocked time on your calendar will override the availability windows set here. After creating your scheduling page, allow at least 15 minutes for it to sync with your calendar before testing. Times that appear available before the sync completes may not reflect your actual availability.
- Configure the following scheduling options as needed:
- How far in advance counties can book
- Minimum meeting notice time
- Buffer time before or after meetings
- Click Additional Settings at the bottom of the Schedule tab to configure advanced options.
Form Tab
- Click the Form tab to add custom questions that counties will answer when booking. Use this to capture information relevant to the specific type of meeting.
Reminders Tab
- Review or add pre-meeting email reminders. By default, attendees receive one reminder 1 hour before the meeting. Additional reminders can be added here.
Share Your Scheduling Page
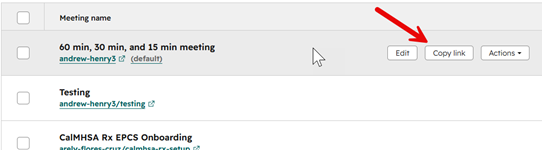
Once the page is saved, you will be redirected to your list of scheduling pages. Hover over the page and click Copy Link to get a shareable URL to send to counties.